Skip to content

Confident Beginner

Crochet a Small Catch-All Basket

Turn a flat circle into a useful little basket while practicing increases, back-loop stitches, and firm crochet fabric.

By Purely Crochet Editorial Team · October 23, 2026 · 3 min read

Free Patterns · Home Decor

Project time: Approximately 2–4 hours · US crochet terms
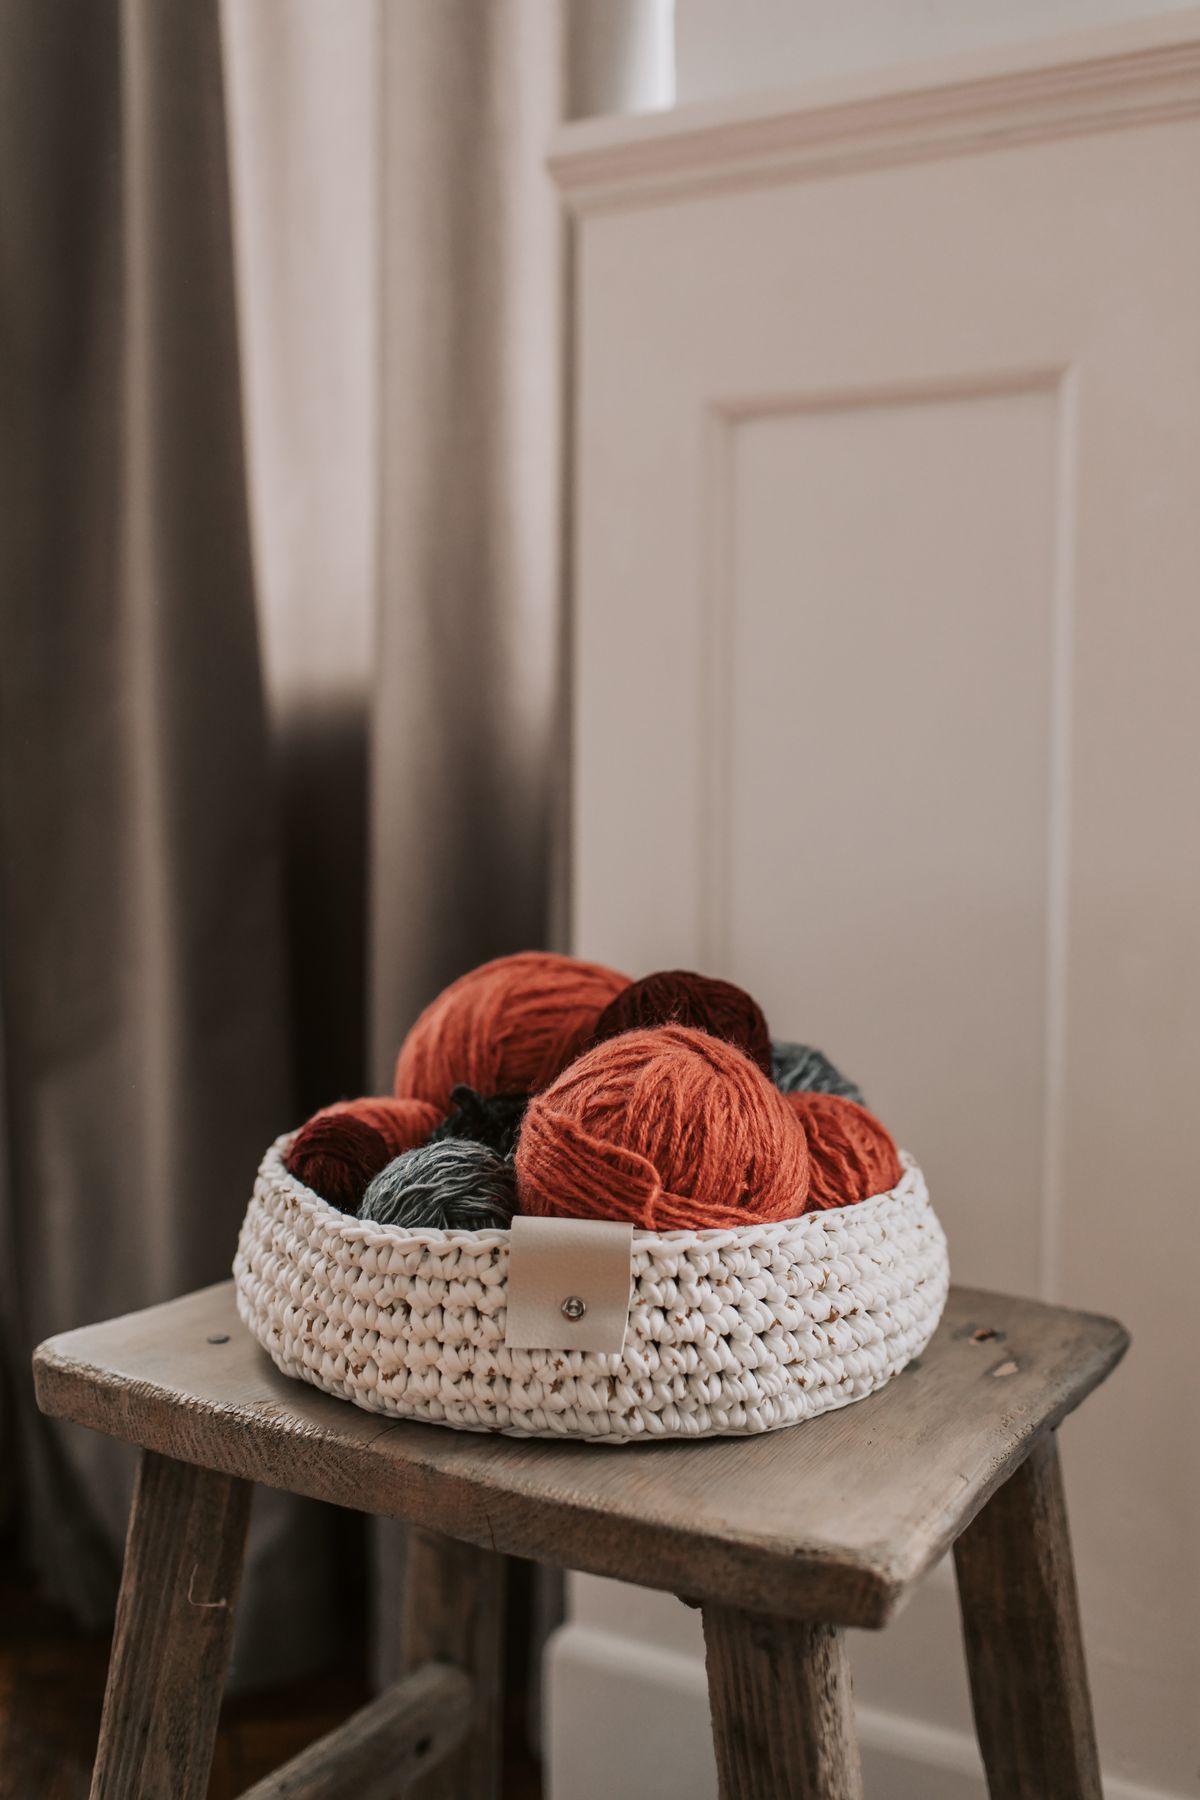
A crocheted basket holding yarn on a wooden stool

Craft inspiration · Photo by Vlada Karpovich on Pexels

A useful project for your craft table

A small basket makes an inviting home for yarn scraps and other lightweight supplies. The construction is straightforward: crochet a circle, work a turning round, then continue without increases to build the walls. The fabric matters as much as the stitch count, so choose yarn that produces a firm result.

Choose your materials

Begin with approximately 120–160 meters of sturdy super-bulky yarn and a 6.5 mm hook, adjusting the hook to suit the yarn. You also need a removable stitch marker, scissors, and a yarn needle. Soft, fluffy yarn may make a relaxed bowl rather than a self-supporting basket. Try a small swatch before starting.

This pattern uses US terms. Sc means single crochet; inc means work two sc into one stitch; BLO means work through the back loop only. Except for the turning round, insert the hook under both top loops. Work in continuous rounds without joining or turning, and mark the first stitch of every round.

Make the base

1. Round 1: Work 6 sc into a magic ring. Close the center. (6)
2. Round 2: Inc in every stitch. (12)
3. Round 3: Repeat [sc in next stitch, inc] six times. (18)
4. Round 4: Repeat [sc in next two stitches, inc] six times. (24)
5. Round 5: Repeat [sc in next three stitches, inc] six times. (30)
6. Round 6: Repeat [sc in next four stitches, inc] six times. (36)
7. Round 7: Repeat [sc in next five stitches, inc] six times. (42)
8. Round 8: Repeat [sc in next six stitches, inc] six times. (48)

Set the base on a table. A slight six-sided outline is normal with this increase placement. If the base cups sharply or forms pronounced waves, stop to check the counts and fabric before continuing.

Build the sides

Round 9: Sc in the BLO of every stitch. Keep 48 stitches. This creates a visible ridge around the base.

Rounds 10–17: Sc through both loops of every stitch. Keep 48 stitches in every round. Stop earlier for a shallow tray, or add even rounds for more height. Taller sides may need a firmer yarn to hold their shape.

Finish and put it to work

After the final round, slip stitch into the next stitch to soften the step at the edge. Cut the yarn, secure the tail, and weave in both ends. Shape the base and sides with your hands. Follow the yarn’s care instructions if you wash the piece.

Fill it lightly at first. The best size is the one that fits the small things you actually want to keep within reach.

Share on Pinterest

Keep making