Skip to content

Confident Beginner

A Little Amigurumi Pebble to Practice Shaping

Practice continuous rounds, increases, and decreases with a small rounded crochet character and an optional embroidered face.

By Purely Crochet Editorial Team · October 23, 2026 · 3 min read

Amigurumi · Free Patterns

Project time: Approximately 1–2 hours · US crochet terms

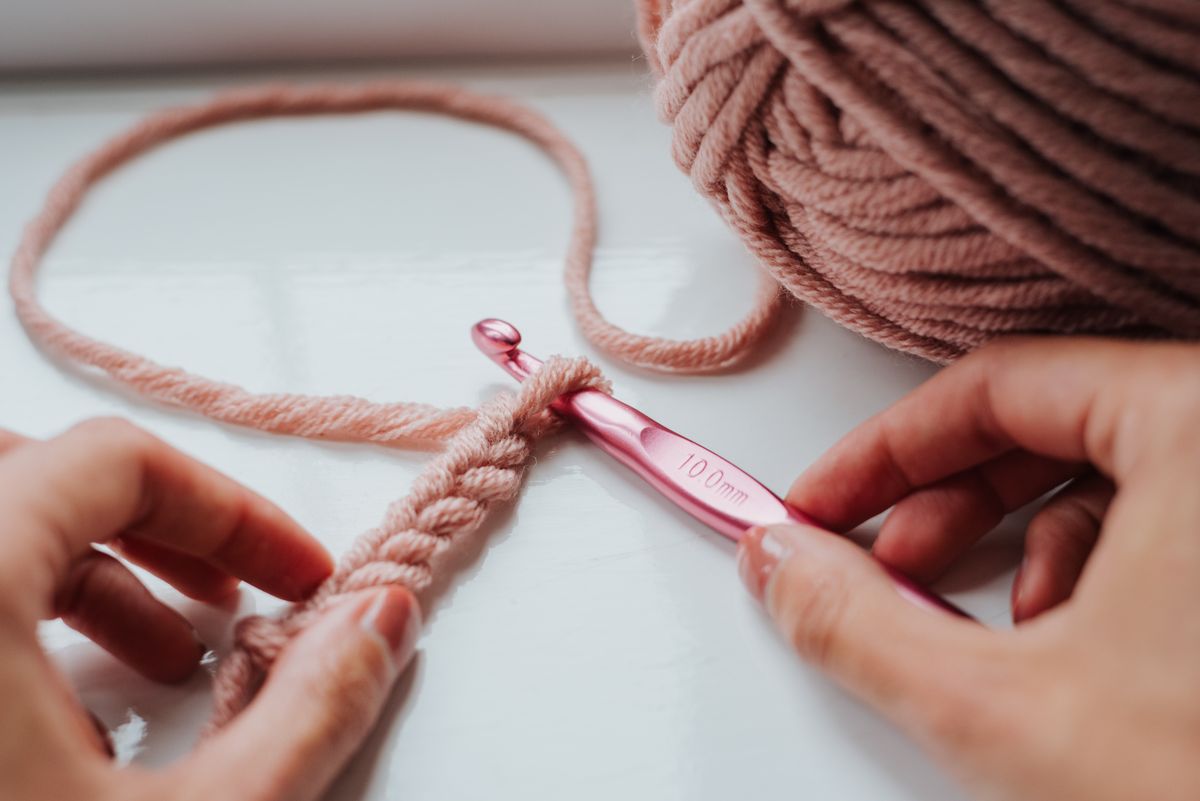
Yarn and a crochet hook beside a crochet project

Craft inspiration · Photo by Alex Preusser on Unsplash

Start with a simple shape

Before adding ears, limbs, or several colors, it helps to understand how a rounded piece grows and closes. This small decorative pebble concentrates on that one idea. You will increase to widen the base, work even rounds for the middle, then decrease to close the top.

Materials and abbreviations

Use a small amount of smooth medium-weight yarn, a 3.5 mm hook as a starting point, a removable marker, fiberfill, scissors, and a yarn needle. Add a little contrasting yarn if you want to embroider a face. Aim for close stitches that do not show the filling; change your hook if needed.

US terms: sc = single crochet; inc = two sc in one stitch; dec = single crochet two stitches together. To decrease, insert the hook into the next stitch and draw up a loop, repeat in the following stitch, then yarn over and pull through all three loops. Each decrease uses two stitches and produces one.

Work in a spiral

Do not join or turn between rounds. Put the marker in the first stitch of each round and move it as you begin the next one.

1. Round 1: Make a magic ring and work 6 sc into it. Pull the center closed. (6)
2. Round 2: Inc in every stitch. (12)
3. Round 3: Repeat [sc in next stitch, inc in next stitch] six times. (18)
4. Round 4: Repeat [sc in next two stitches, inc in next stitch] six times. (24)
5. Rounds 5–8: Sc in every stitch. (24 in each round)
6. Round 9: Repeat [sc in next two stitches, dec] six times. (18)
7. Round 10: Repeat [sc in next stitch, dec] six times. (12)
8. Round 11: Dec six times. (6)

Add the character and filling

If you want a face, embroider it after Round 8 while you can still reach inside and secure the ends. Use short stitches and keep the expression simple. Add small pieces of filling after Round 9, then finish filling after Round 10. The shape should feel softly rounded, not stretched so tightly that gaps appear.

After Round 11, cut a long tail and thread it through the front loops of the six remaining stitches. Pull gently to close, secure the end, and bury it in the piece. Secure the starting tail inside as well.

Treat this project as a decorative practice piece. Its useful lesson is the shaping: each increase round adds six stitches, and each decrease round removes six. That rhythm will appear again in many future amigurumi projects.

Share on Pinterest

Keep making