Skip to content

Beginner

Make a Simple Ribbed Crochet Headband

Create an everyday crochet accessory from a flat strip, using back-loop single crochet for subtle texture and an adjustable length.

By Purely Crochet Editorial Team · October 23, 2026 · 3 min read

Accessories · Free Patterns

Project time: Approximately 2–3 hours · US crochet terms
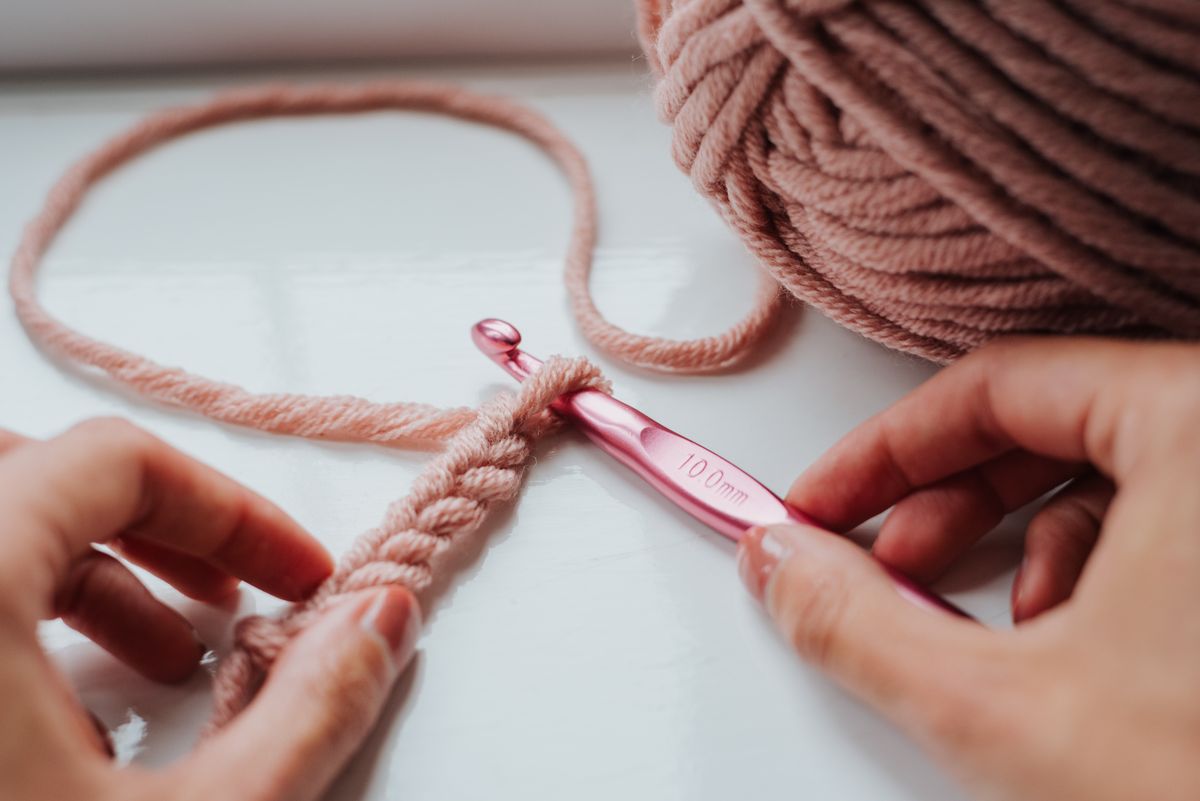
Hands working pink yarn with a crochet hook beside a window

Craft inspiration · Photo by Anete Lusina on Pexels

A small project with a useful repeat

This headband begins as a narrow rectangle. Working through the back loop gives the rows a gentle ribbed texture, and joining the short ends turns the strip into a wearable band. There is no complicated shaping: the most important step is checking the length before you sew the ends together.

Materials and setup

Choose approximately 80–120 meters of soft medium-weight yarn, a 5 mm hook as a starting point, scissors, a yarn needle, a tape measure, and two markers. Actual yarn use depends on your width and length. Choose a yarn you find comfortable against your forehead and follow its care label.

These instructions use US terms. Ch means chain; sc means single crochet; BLO means back loop only. Look at the V on top of a stitch: the loop farther from you is its back loop. The turning ch 1 does not count as a stitch.

Make the strip

1. Chain 13.
2. Row 1: Sc in the second chain from the hook and in each remaining chain. You have 12 sc.
3. Row 2: Ch 1 and turn. Work one sc in the BLO of each stitch across. Keep 12 sc.
4. Repeat Row 2 to build the ribbed strip, checking the count after every row.

The initial chain controls the width, not the circumference. After several rows, measure the width and decide whether you like it. To change it, restart with your preferred number of stitches plus one starting chain. Keep that new stitch count for every row.

Check the fit

Measure around your head where the band will sit. As the strip approaches that measurement, wrap it around the same path without pulling it hard. Aim for a comfortable, gently snug fit. A stretchy yarn may need a strip slightly shorter than your head measurement, while a less elastic yarn may need more length. Use the actual fabric as your guide.

If washing could change your yarn’s dimensions, care for the strip before making the final fit decision. Let it dry completely, then check again. Add or remove rows until the short ends meet comfortably.

Join and finish

Fasten off with a long sewing tail. Place the two short ends together, align their 12 stitches, and whipstitch corresponding edge loops without pulling the seam tight. Secure and weave in both tails. Turn the seam to the inside and try the headband on.

A simple solid color shows the ribbing clearly. Once you like the fit, save the stitch count, row count, yarn, and hook size as a starting point for another version.

Share on Pinterest

Keep making